In photography there are 10 rules you should obey:
~The Rule of Thirds: Imagine your photo is divided into nine equal segments, split by two horizontal and two diagonal. Try and place your subject (the most important part of your photo) in between these lines. Doing this will make your photo more appealing to others.
~Balancing Elements: Not always keep your subject to the centre, along with the rule of thirds, this brings more interesting features to your photo, but dont leave the space empty, balance the "weight" of your subject by adding another subject that may be less important.
~Leading Lines: When looking at photos our eyes are naturally drawn along lines, the different ways you place lines in your composition you can change the way we see the image.
~Viewpoint: The viewpoint has a HUGE impact on the composition of a photo and can affect the message sent in the photo. Rather that=n shooting from eye level, consider shooting from a higher or lower point of view, or even really far away or really close up.
~Background: The human eye is better at distinguishing between the background and the foreground, whereas a camera cant; this can often ruin a potentially great image. Thankfully it is easy to solve this problem at the time of shooting. Look around for a plain background and compose your shot so that it doesn't detract from the shot.
~Symmetry and Patterns: Symmetry and pattern is all around us, both man-made and natural. They can be quite eye-catching, especially where they are not expected. A great way to use them is to break the symmetry or pattern in some way, may it be by using a different main subject so the pattern or symmetry isn't the main subject.
~Depth: Depth can be created by including objects in your image. Another useful technique is overlapping, when overlapping you deliberately partially obscure one object with another. We will be able to recognise the two layers and mentally separate them, making an image with even more depth.
~Framing: We are surrounded by objects that make perfect natural frames, like trees, holes and archways. by placing these on the edge of your shot you can help to form a natural frame for your main subject, or isolate them from the outside world. As a result, this immediately draws your viewers eyes to the main subject.
~Cropping: Cropping so it is just the subject you will completely remove background "noise", making sure the viewer pays all their attention to the subject.
~Experimentation: EXPERIMENT WITH YOUR PHOTOS! Every time you take a photo always take it a few times but with different settings. Try new filters in photoshop, maybe dont even use photoshop, or even use it a lot! You can never do too much to your photos, well you can, when they start to look bad then you know you have done too much, but thats a good thing because then you know what you did wrong (hopefully) and then you will know for next time when yo r editing another photo. You can never experiment too much!
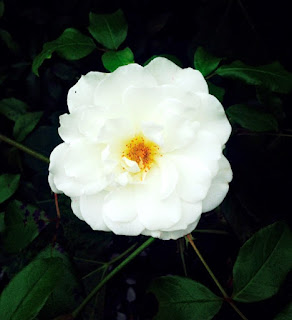
I also thought id add a few of my photos that i have not posted yet.
Here is my
WordPress link!<3
~ Charlotte Finch xx


